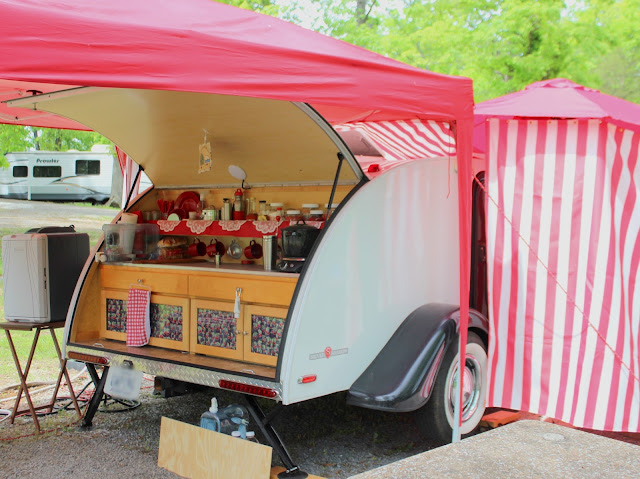
The main camping event for us this year was Teardrop City held in Max Meadows, Virginia on July 25-29. There are so many activities to choose from, new friends to meet as well as old friends to greet. I would say that a good time was had by all! It's always fun to see what people have done with their teardrop campers and new things that they have added. This event is put on by volunteers through the Tearjerkers website. Thank you to Eric, the creator of this event.
I should also say that thanks should also go out to Karin and all the people who volunteered their time to make this such a fun event! At this event, you share a campsite with another fellow Tearjerker member. It can be with someone you know or a newbie. You get to choose and if that makes you uncomfortable or you bring a larger camper, you can have a campsite all to yourself. Sharing a spot makes a tight community and hence the term Teardrop City. It's all great fun! There were lots of activities from which to choose. We had hiking, kayaking, board games, card games, cornhole tournament, community meals, swimming, needlework, beer can stove making, how to conserve your ice in your cooler, dutch oven cooking demonstration, silent auction and we toured all of campers! The list goes on and on as to the activities!
This is a shot of our galley during the event. Take note of the Ohio State Banner because it will be important in just a minute.
We shared our campsite with this Tab made my Little Guy out of Ohio. It's a teardrop you can stand up in! It's owned by newbies to the Tearjerkers group.
Meet Mike and Cindy! They are a great couple in which to share a campsite! They were great fun and we hope to see them again soon at another Tearjerker event.
This is John and Ida. We met them at Teardrop City 2016 where they camped beside of us. We quickly became friends when I saw them setting up their campsite with an Ohio State camping chair. I shouted O-H and Ida replied I-O and the rest is history! You never know where you will meet Ohio State graduates! We have camped with them at several Tearjerker events and once again at Teardrop City 2018. The camper in the background with the red stripe belongs to John and Ida. John designed and built it himself.
This year they shared their campsite with Mike. The funny thing is that during the last Teardrop City we shared a campsite with Mike. I believe he has a Polar Bear Teardrop made by Rustic Trail Teardrop Campers out of North Carolina. Mike has added lots of new things to his camper since we last saw him!
That about wraps it up for today's post but rest assured that I will be sharing much more from Teardrop City 2018 in the near future!


